One of the things I’ve always wanted was to have space dedicated to my engineering work. Growing up in Manhattan I never expected much; certainly never an empty basement, garage, or even spare room. All I needed was a desk where I could have some tools, components, and open projects without having to go on a scavenger hunt throughout my apartment to find where everything was. So after a few months of thinking and procrastinating and planning of logistics, I finally decided to come up with a plan to build one before summer.
The Plan
This project was a little more tricky than the two previous workbenches because of three reasons:
- Its design would have to incorporate the function of the heating/cooling unit it was being built over
- It is the largest
- It is the most awkwardly shaped
With these concerns in mind, I decided to use this an opportunity to try modelling it in CAD before settling on a final design. I downloaded Google’s Sketchup and watched a few quick tutorials on how it could be used to design a piece of “furniture”. I gathered the measurements of the radiator, and heights and widths of the two other benches the new piece would be built between. I first sketched out the radiator (specifically where the vents and controls were) to get a better idea of where the benchtop supports would go, and what the surface itself would look like:
 Thrilling, I know
With the radiator and controls modeled (it looks like one solid strip but it isn’t, I promise), I could start playing around with different structures. Not having a great deal of options (due to physical and fabrication limitations), I settled on the following design:
 This setup would ensure that the surface was fully supported across the width of the bench, yet allow for the control panel (between the left most and second from left beams) to remain accessible.
The tabletop also needed to be built so that I could reach under and adjust the A\C and ideally allow a more direct flow of air if needed. In order to accomplish this I decided to go with a hinging design that would allow either section to be accessed independently or for the whole panel to be removed all together:
 Here you can see the structure covered by 1x8s and the panel/vent pieces
Once I had my cut list together, I was ready to buy the wood.
The Pickup
I got a zipcar membership a few months ago for those times when I need to move stuff from A to B and wasn’t able to do so using public transportation. This was one of those times. I rented a car for an hour and a half, which came out to a little over $26.00 (around $6.00 less than my previous one-way UberXL). After the paying for the lumber ($80), I fit it through the middle of the car:
 A snug fit
Between the subway, UberXL, and a rental car, the latter is definitely my preferred method of transporting wood.
The Build
The tools and build process was very much the same as the previous workbench, so I won’t go into all of the same detail.  The first few images were shot on a Sigma 35mm f1.4 Art lens, which I have since returned because of its inconsistent AF.
 Lots of measuring

 The trusty Amazon speed square
 One of the 1x8s had a large split running the length of the board
 The first workbench had three legs, the second had four, the newest has two
 Making sure it fits
 Assembly did get a bit tricky with this design
 After putting glue in the split board I clamped it to dry overnight
 A closeup of the filled split
 Once the board dried I screwed it in
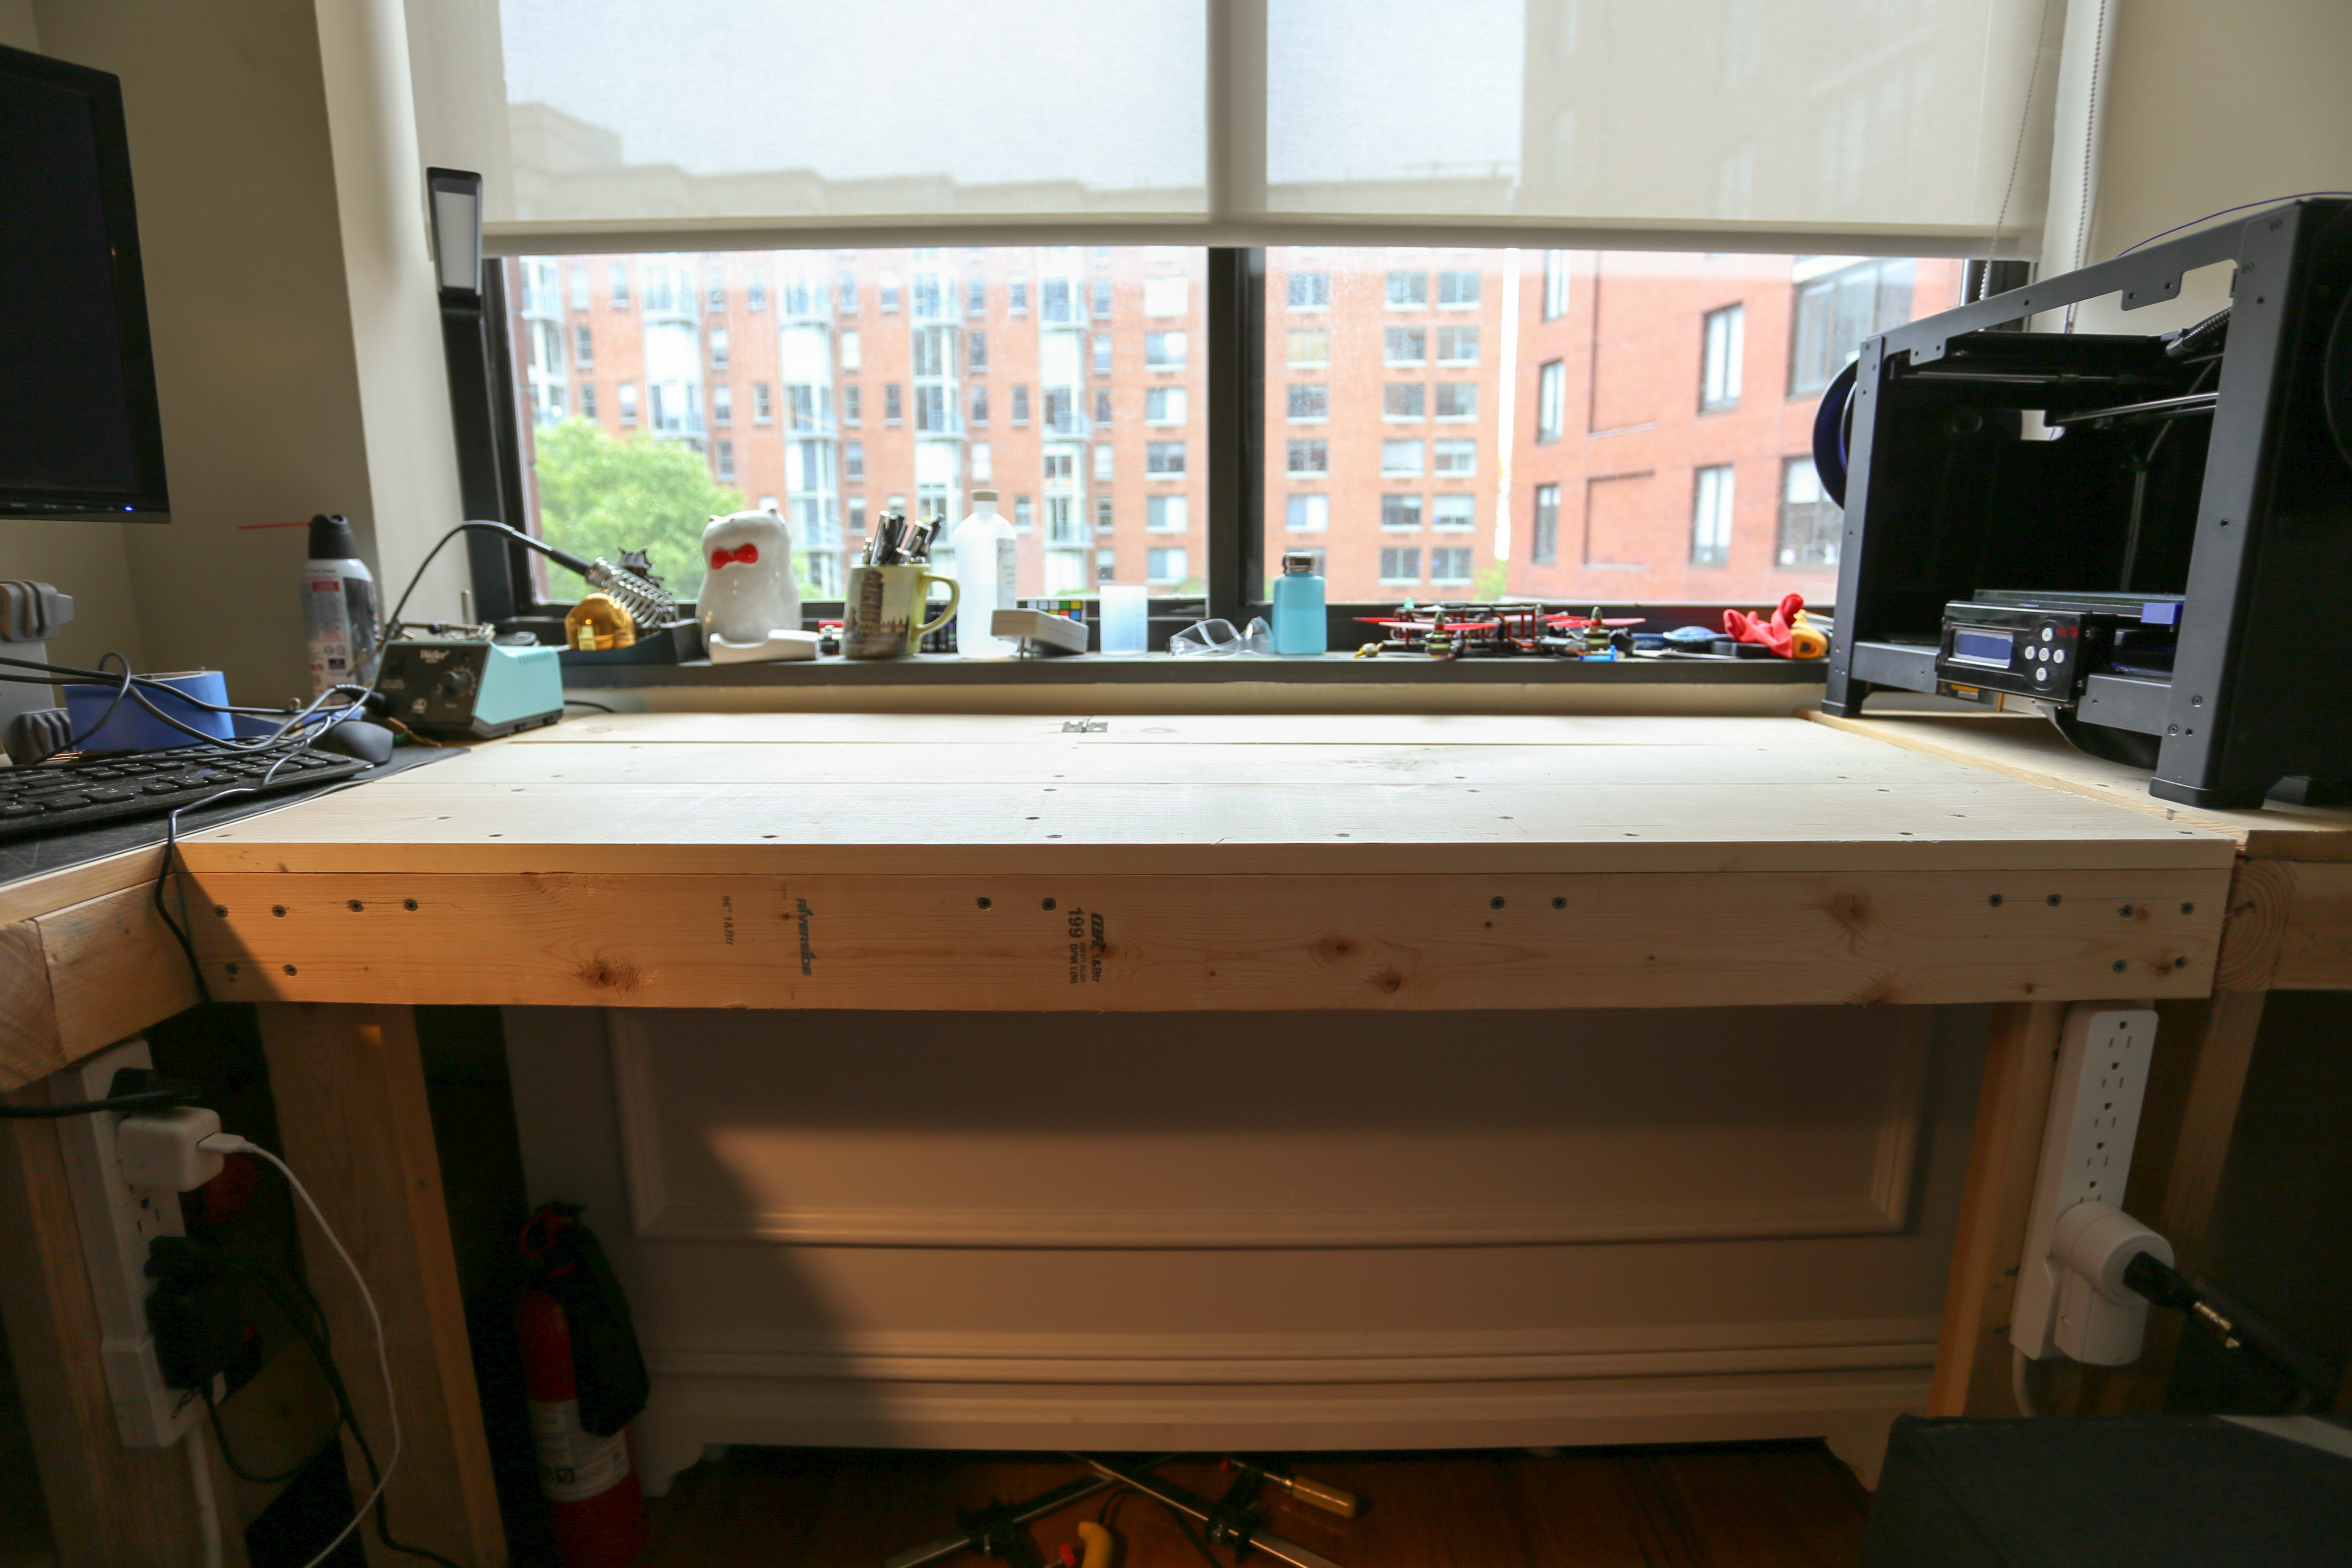
 The finished product!
 Power strip mounted for easy access (remote outlet for even easier access)
 Here you can see the hinge in action
 The other side
 The board is removable in case I need access to something that may have fallen through

I’m really happy with how the new bench came out. It effectively doubled my desk space and allows me to better utilize the room provided by the first two workbenches. As I’m sure you’ve noticed, there’s still nothing on it! Expect a tour once everything’s setup.