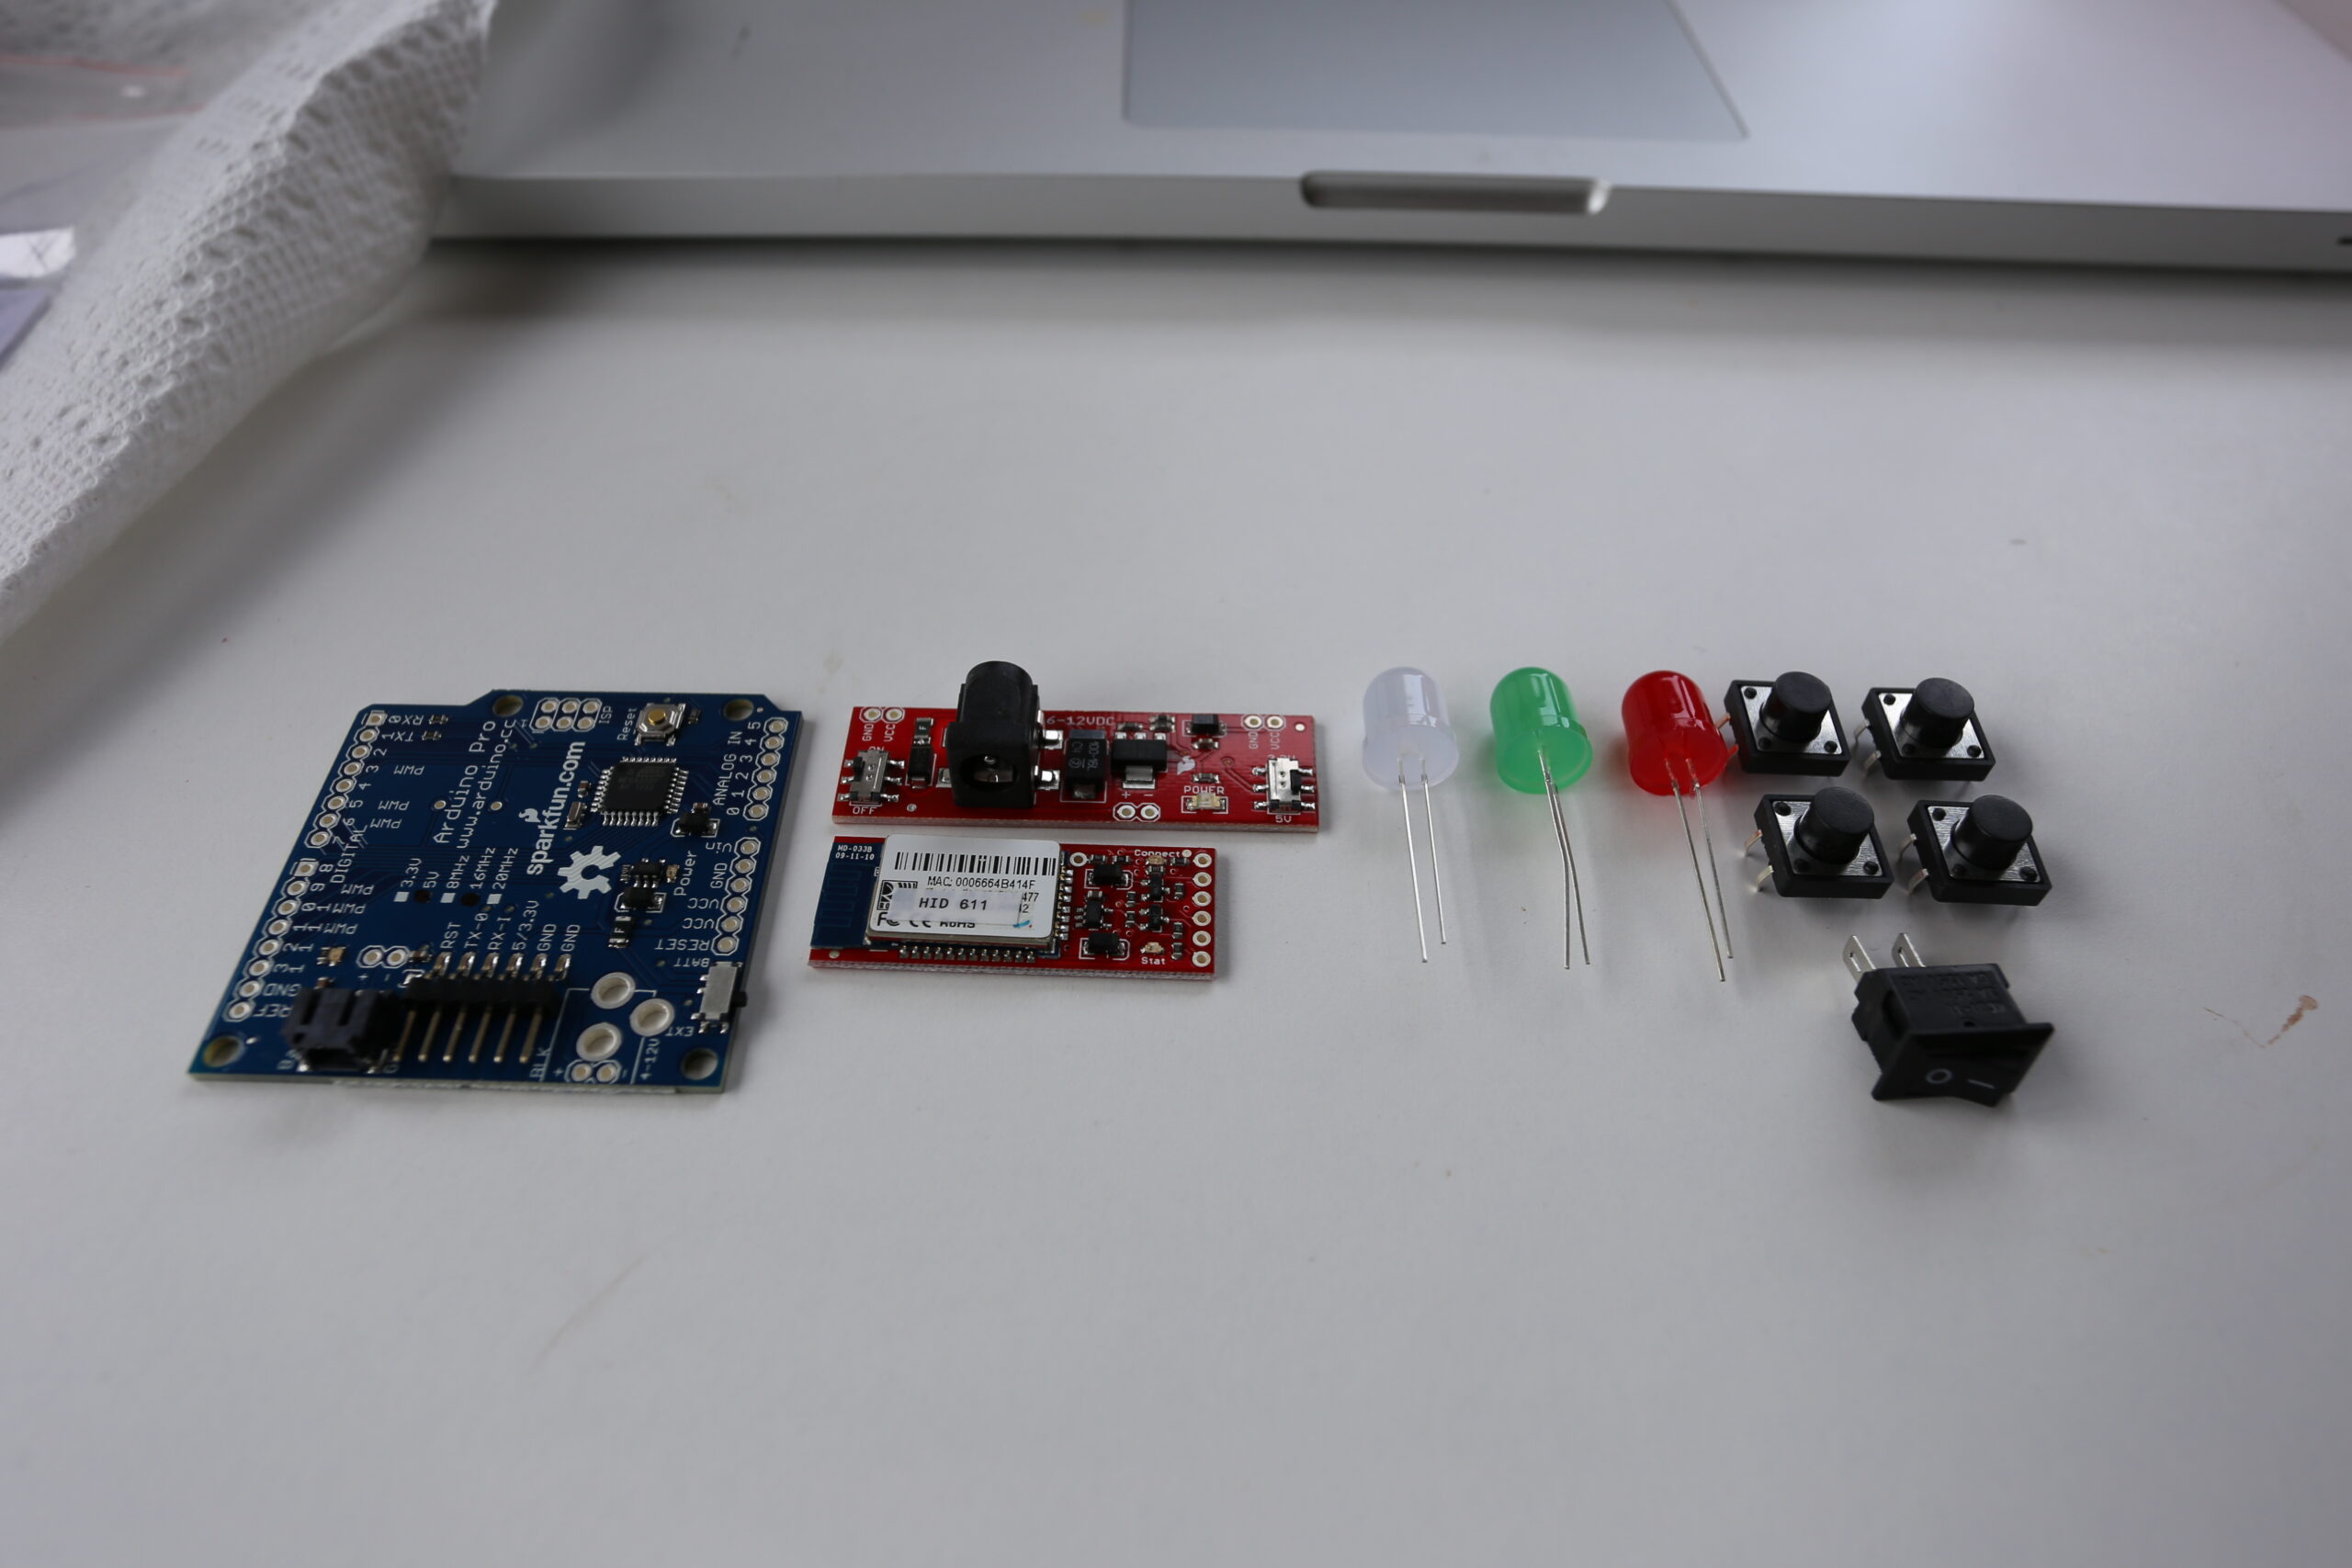
So yesterday my order from Sparkfun finally arrived which contained what I thought were all the parts I needed to finish a working (and hopefully decent looking) prototype. I also picked up a few new toys: a bluetooth module for future machines and also a breadboard power supply.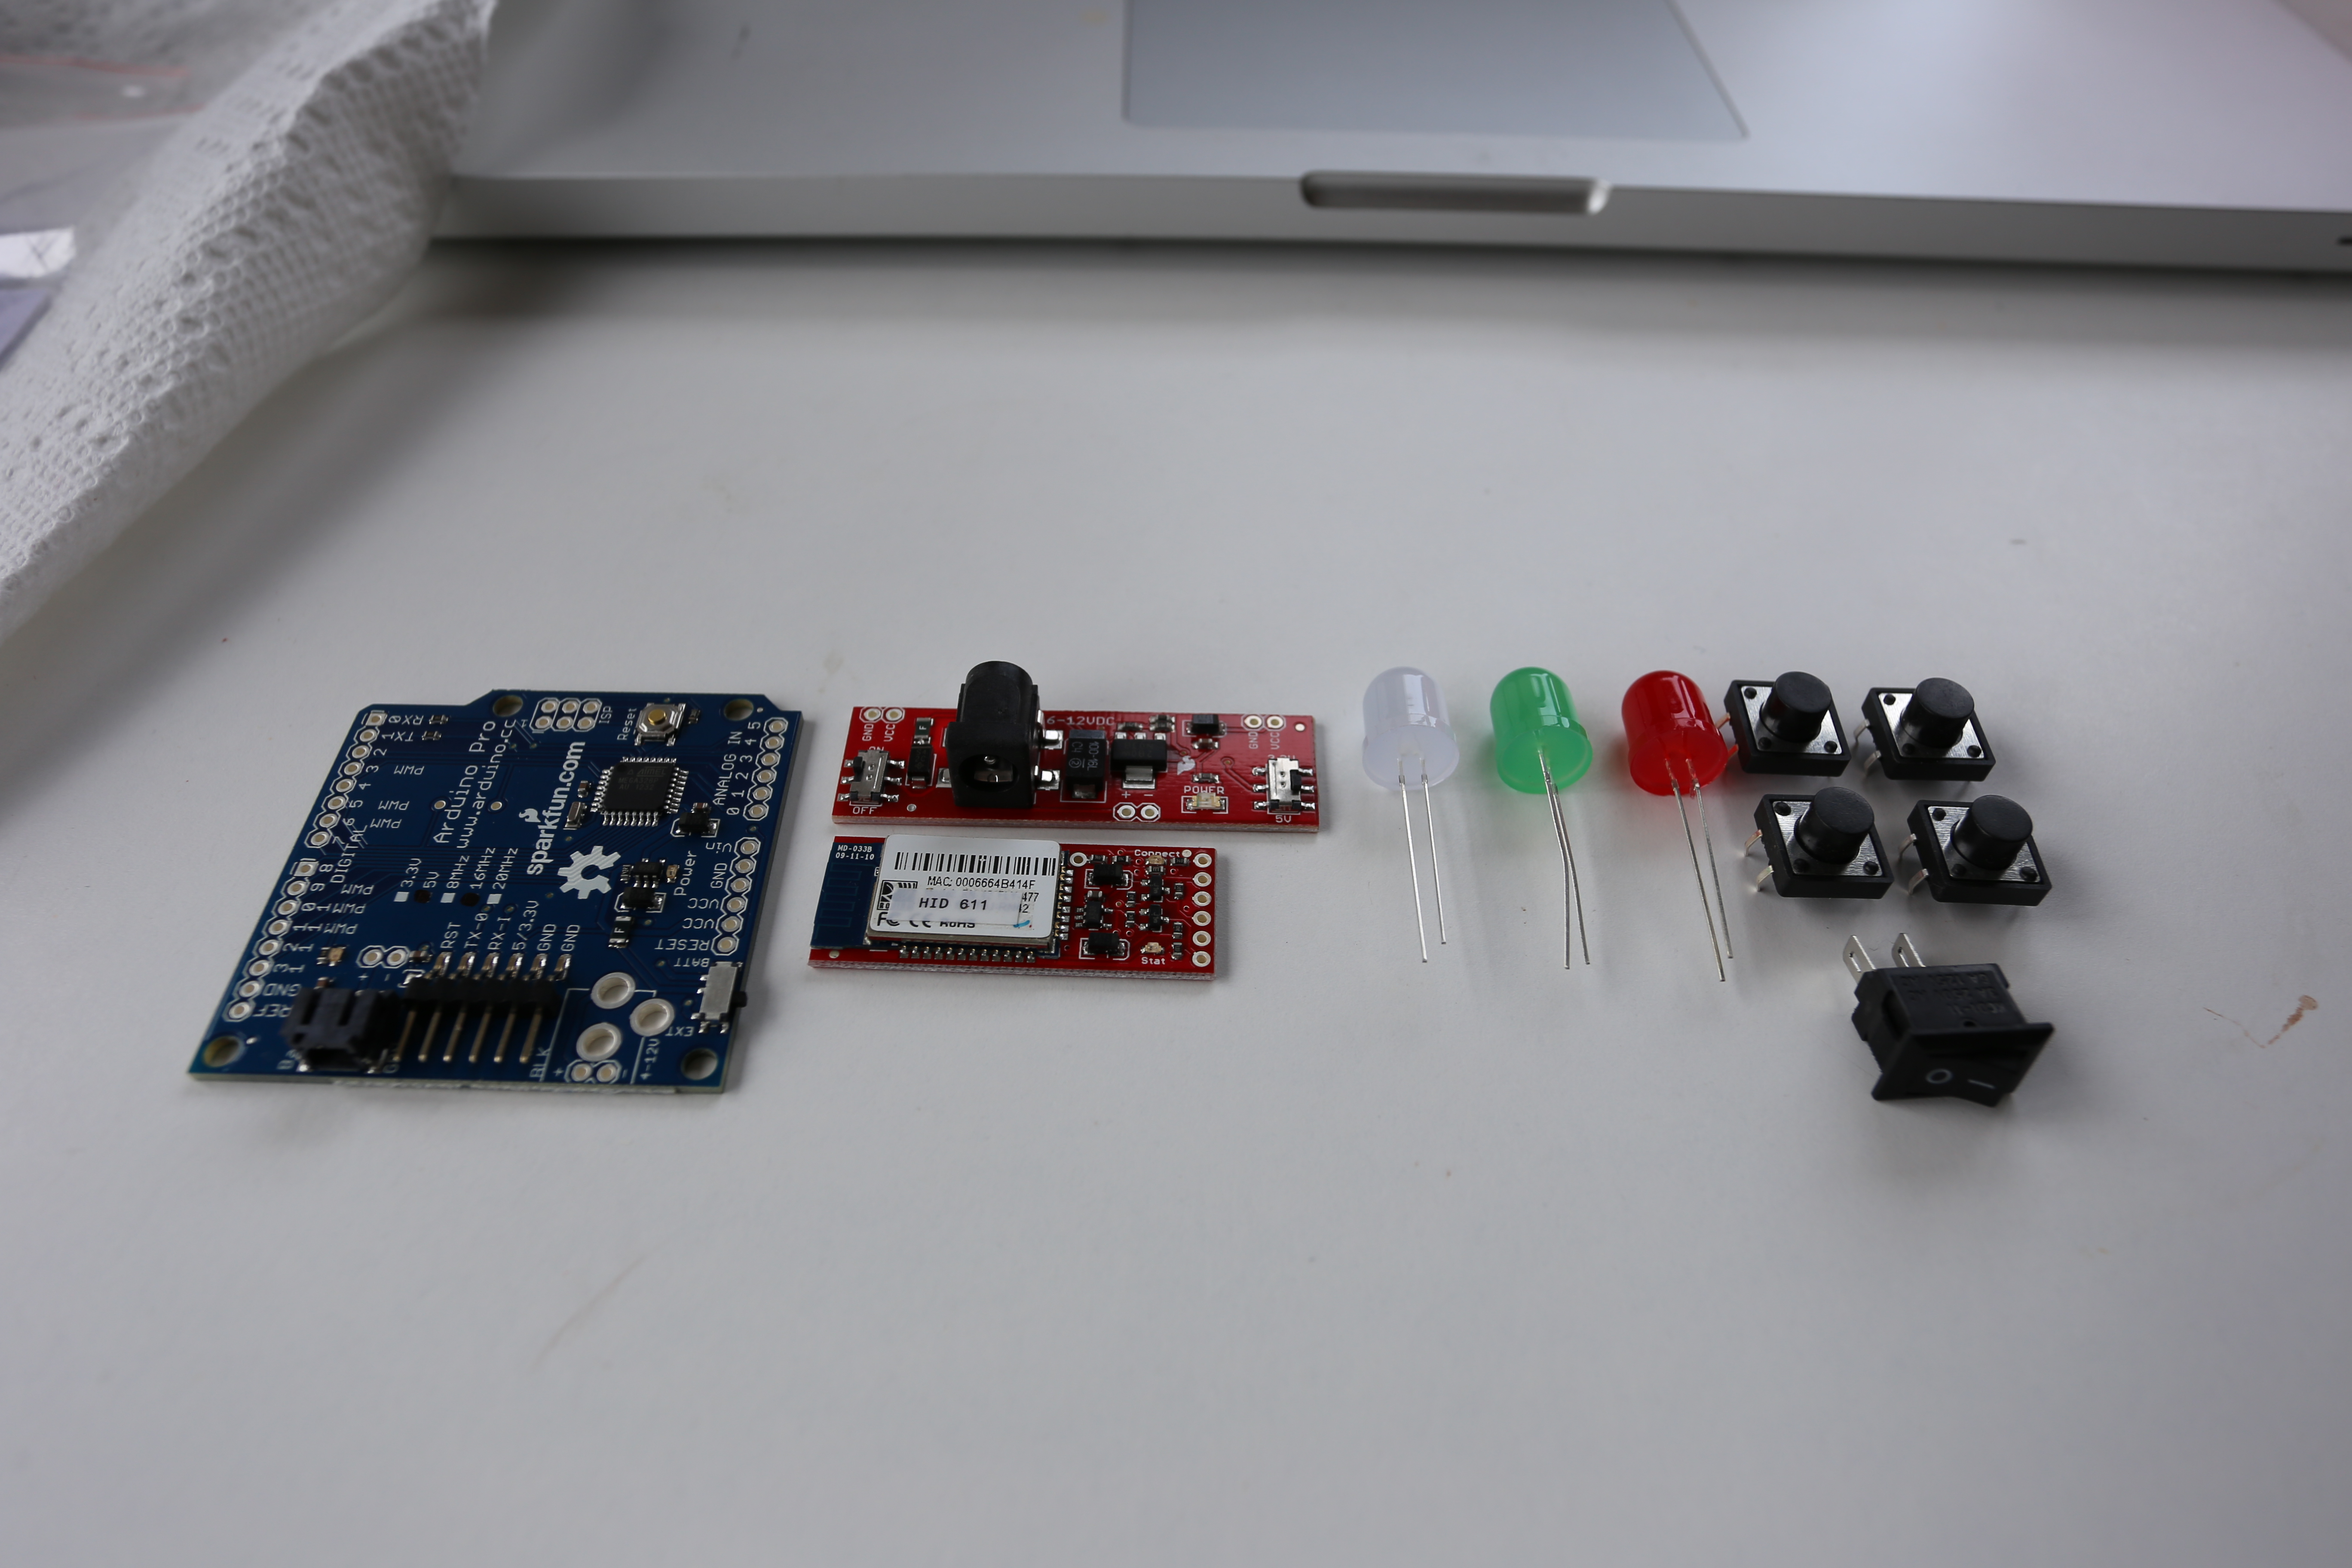
For this build I decided to use the slightly larger 6x4x2″ project box from Radioshack, which makes for a cheap ($6.50), durable, and somewhat easy to modify enclosure. This time I wanted to make sure everything fit nicely so I went and calipered everything.
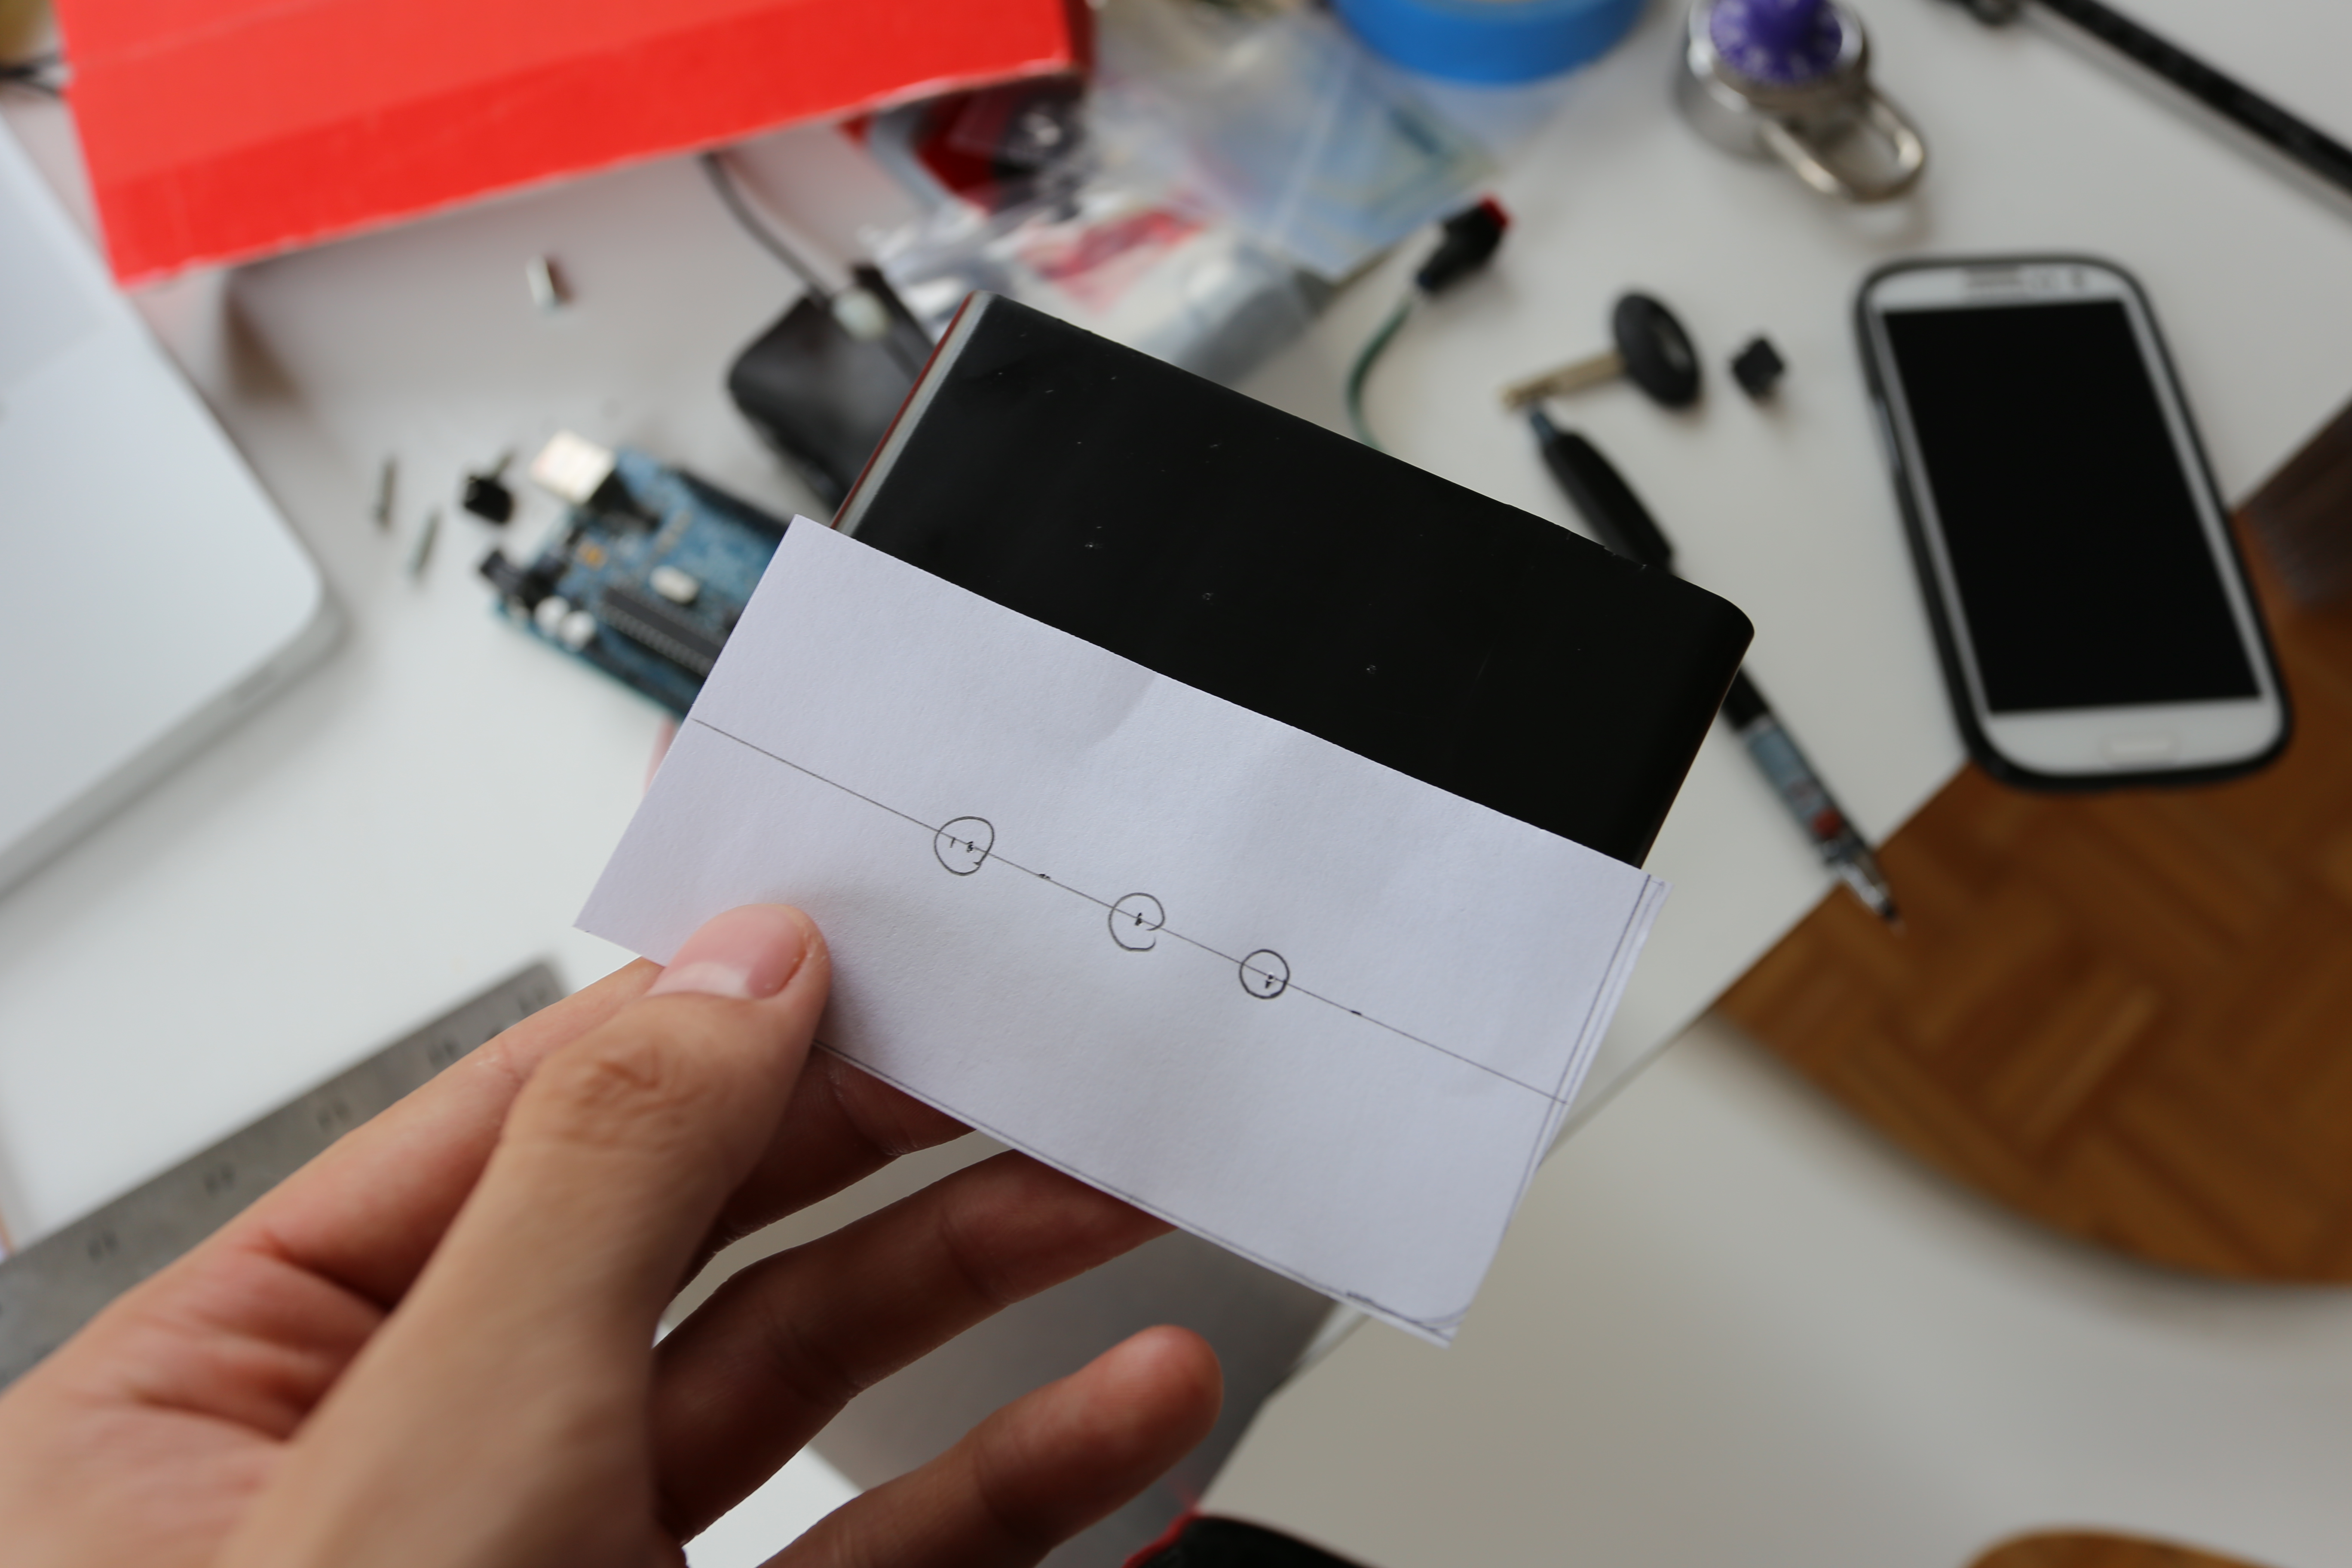 Once each template was completed (so far only the top and sides) I would align it on the box and use an x-acto knife to score the center of each hole. From there it was just a matter of drilling some pilot holes with a 3/32 bit before finishing off with quarter inch.
 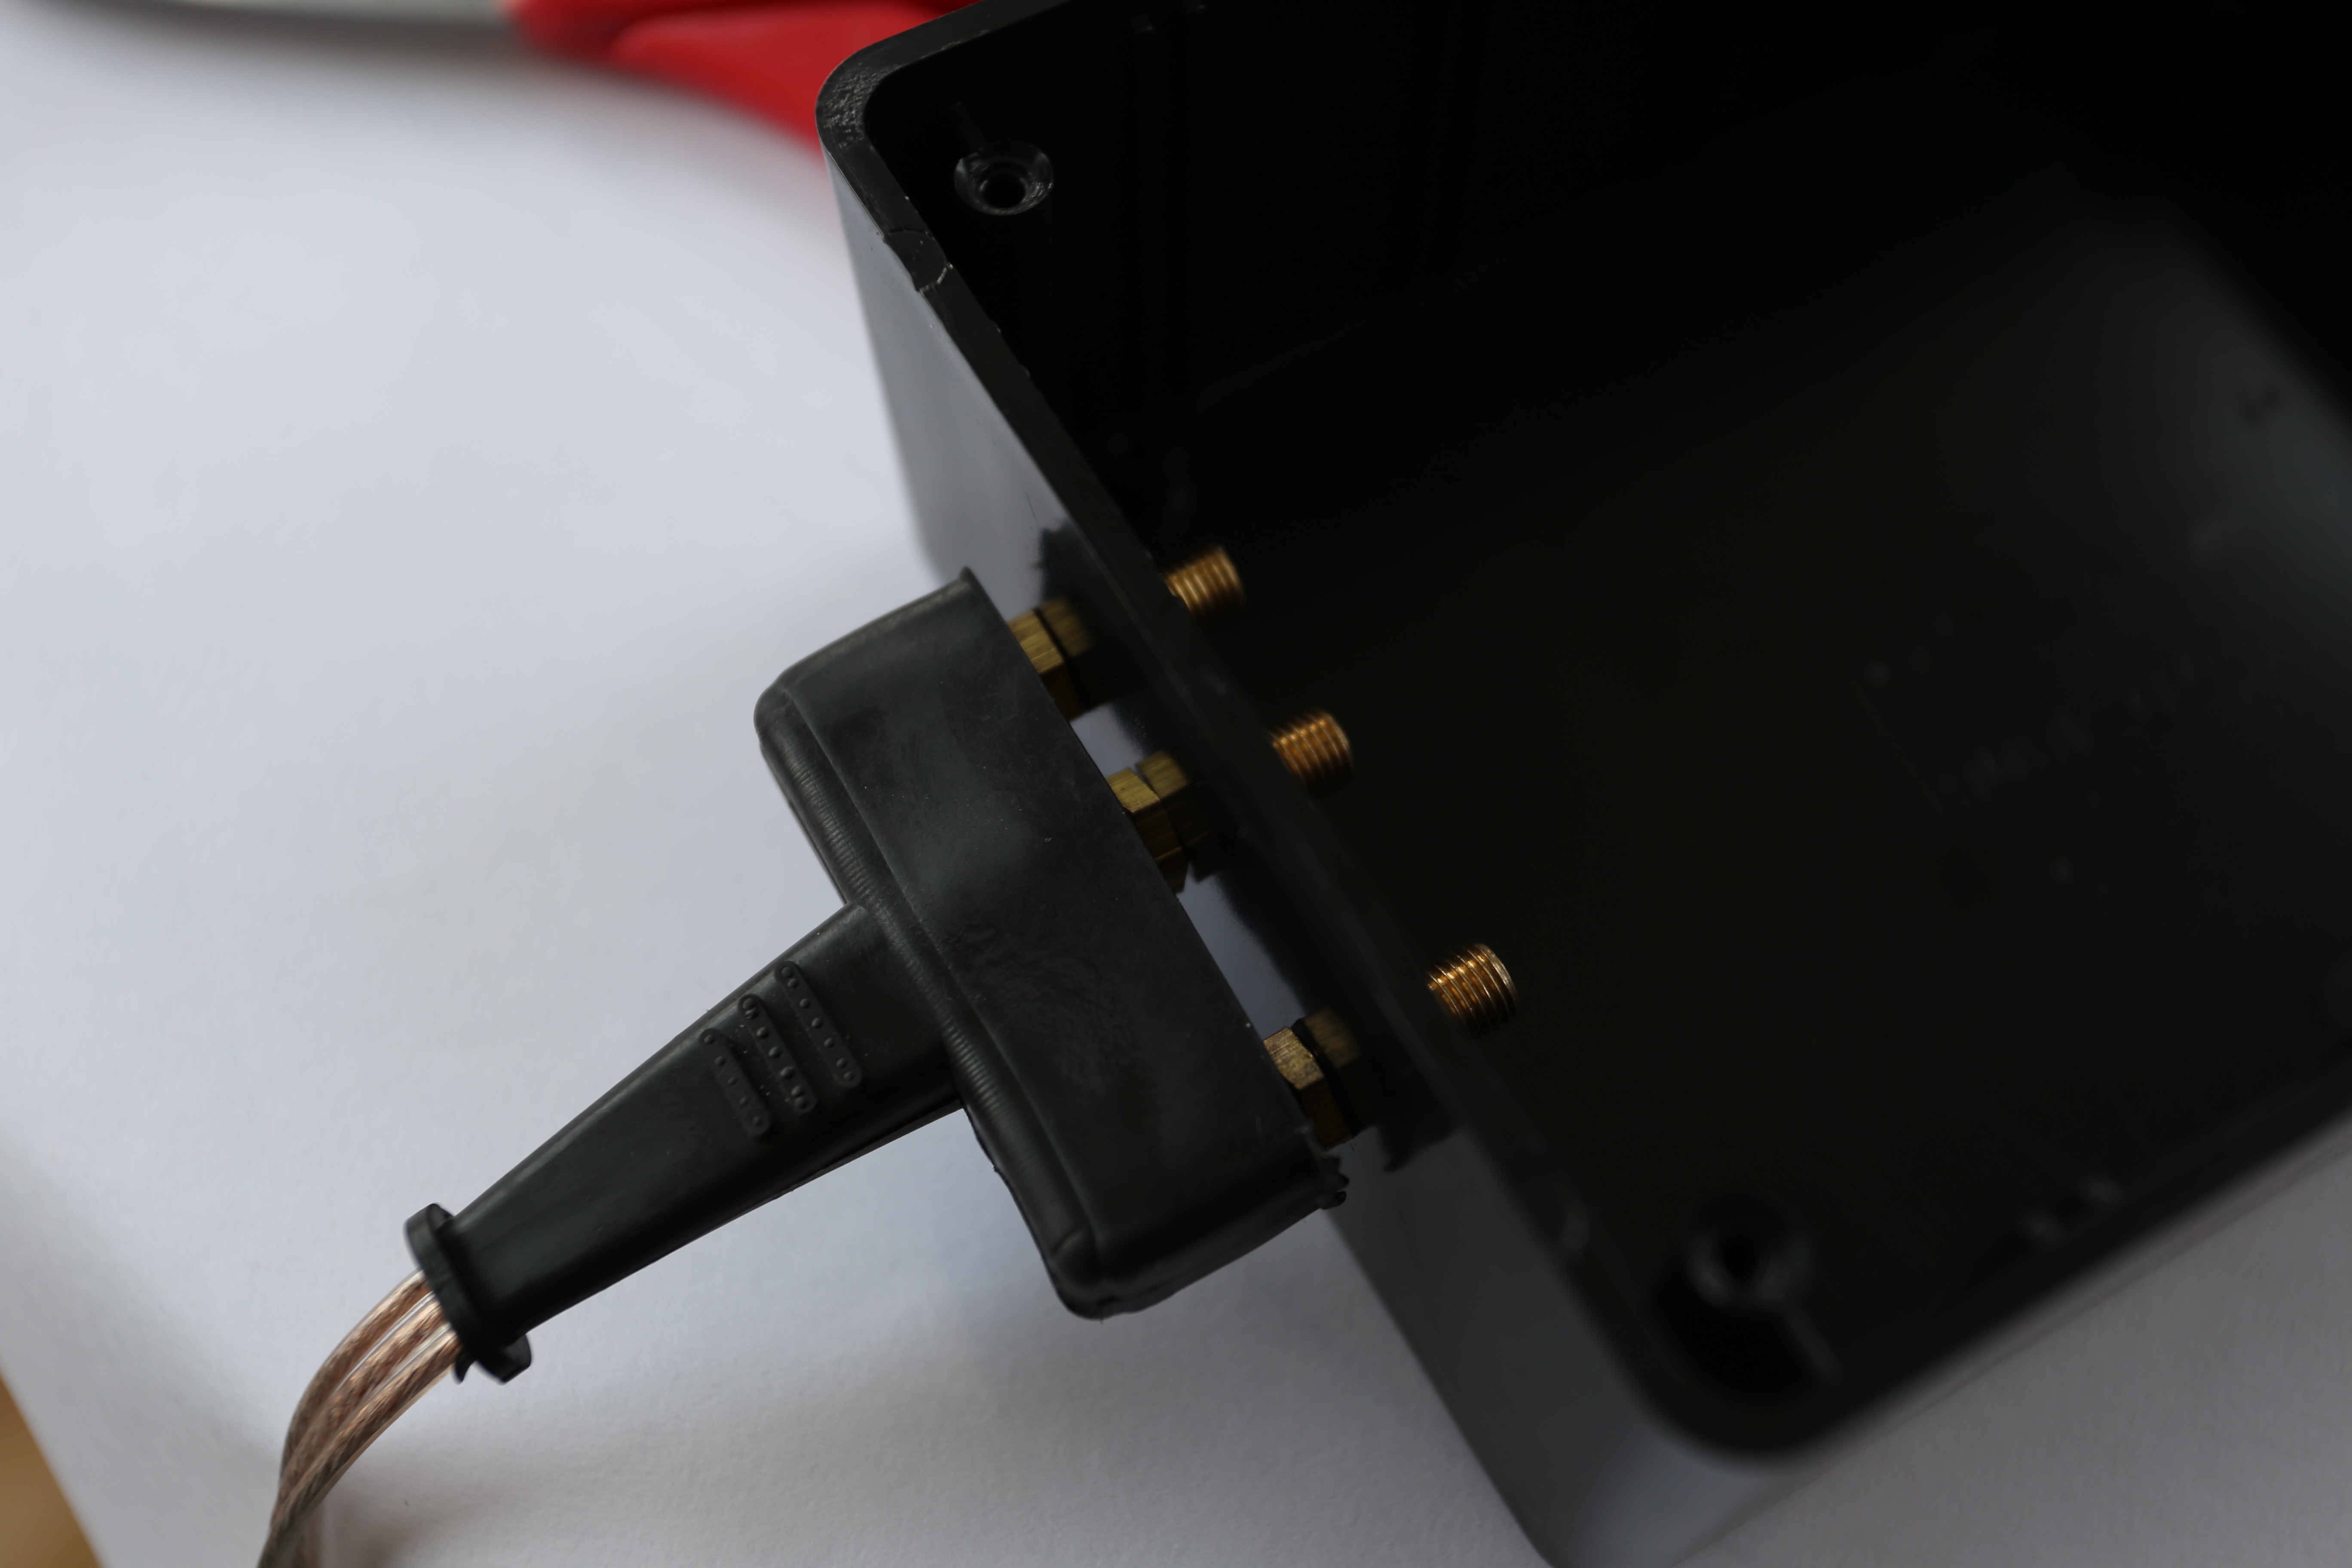 Everything ended up fitting nicely, with both sides even and level. The same process was used for the top of the box which has a button and on/off switch.
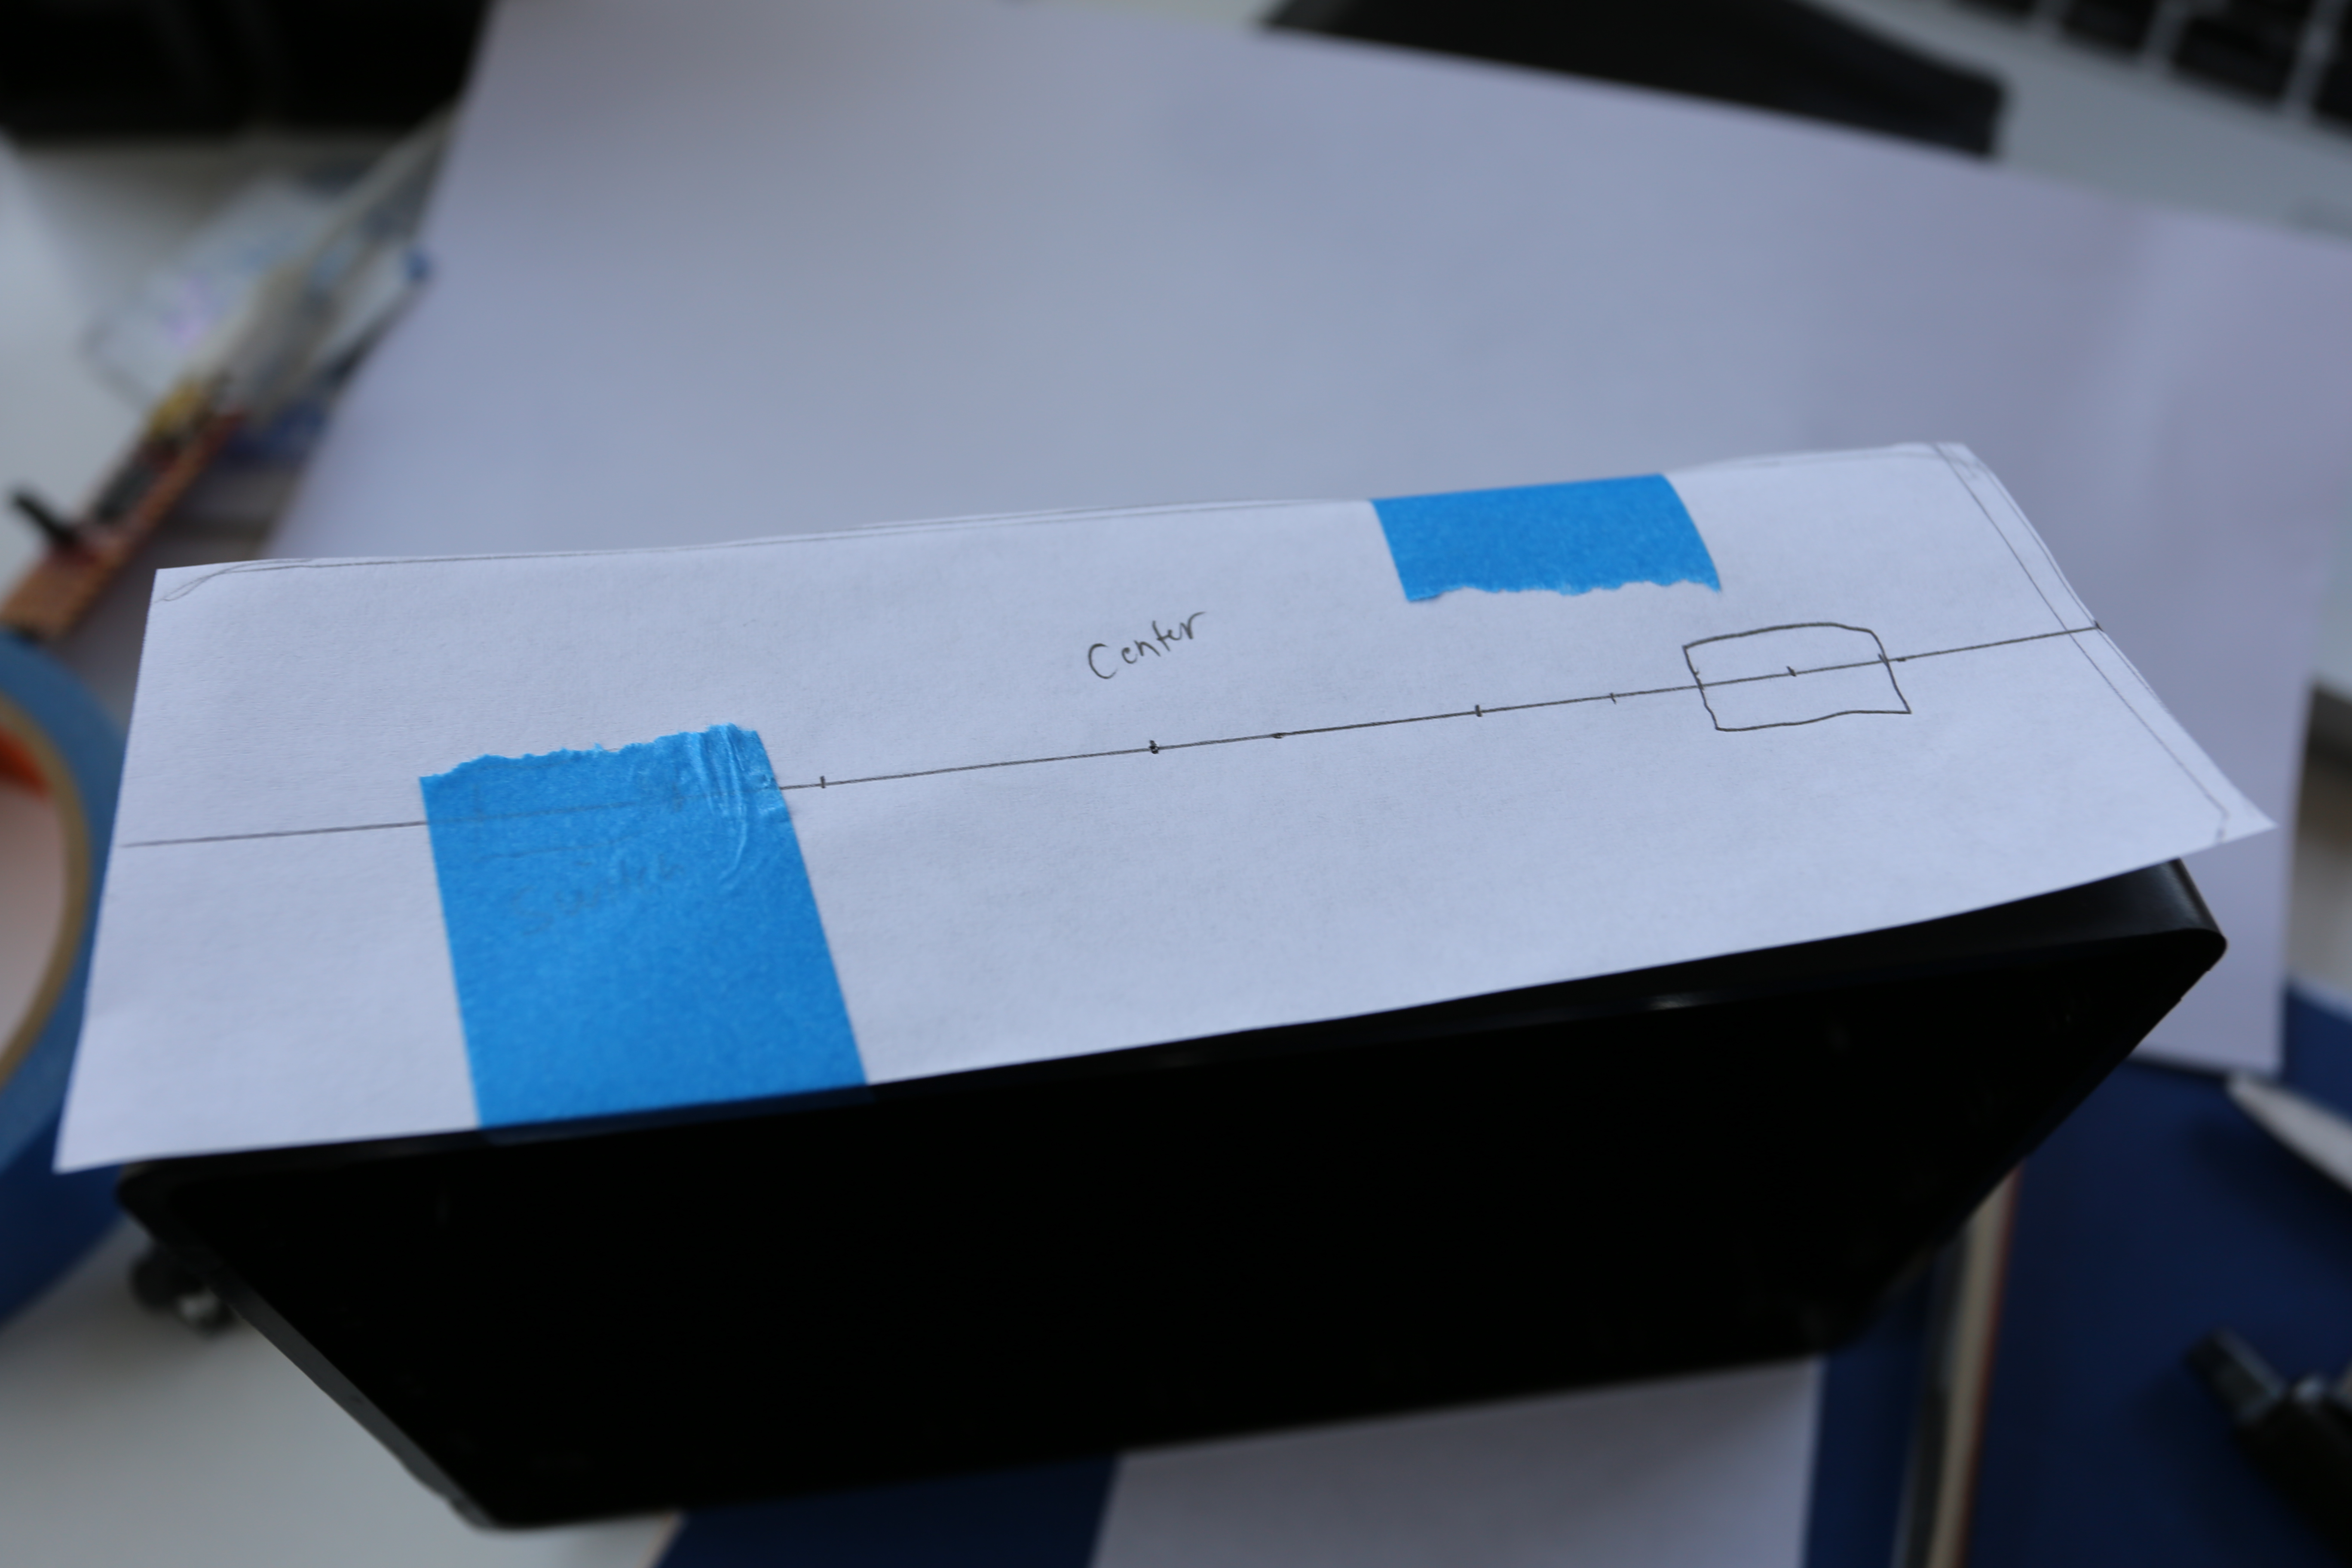
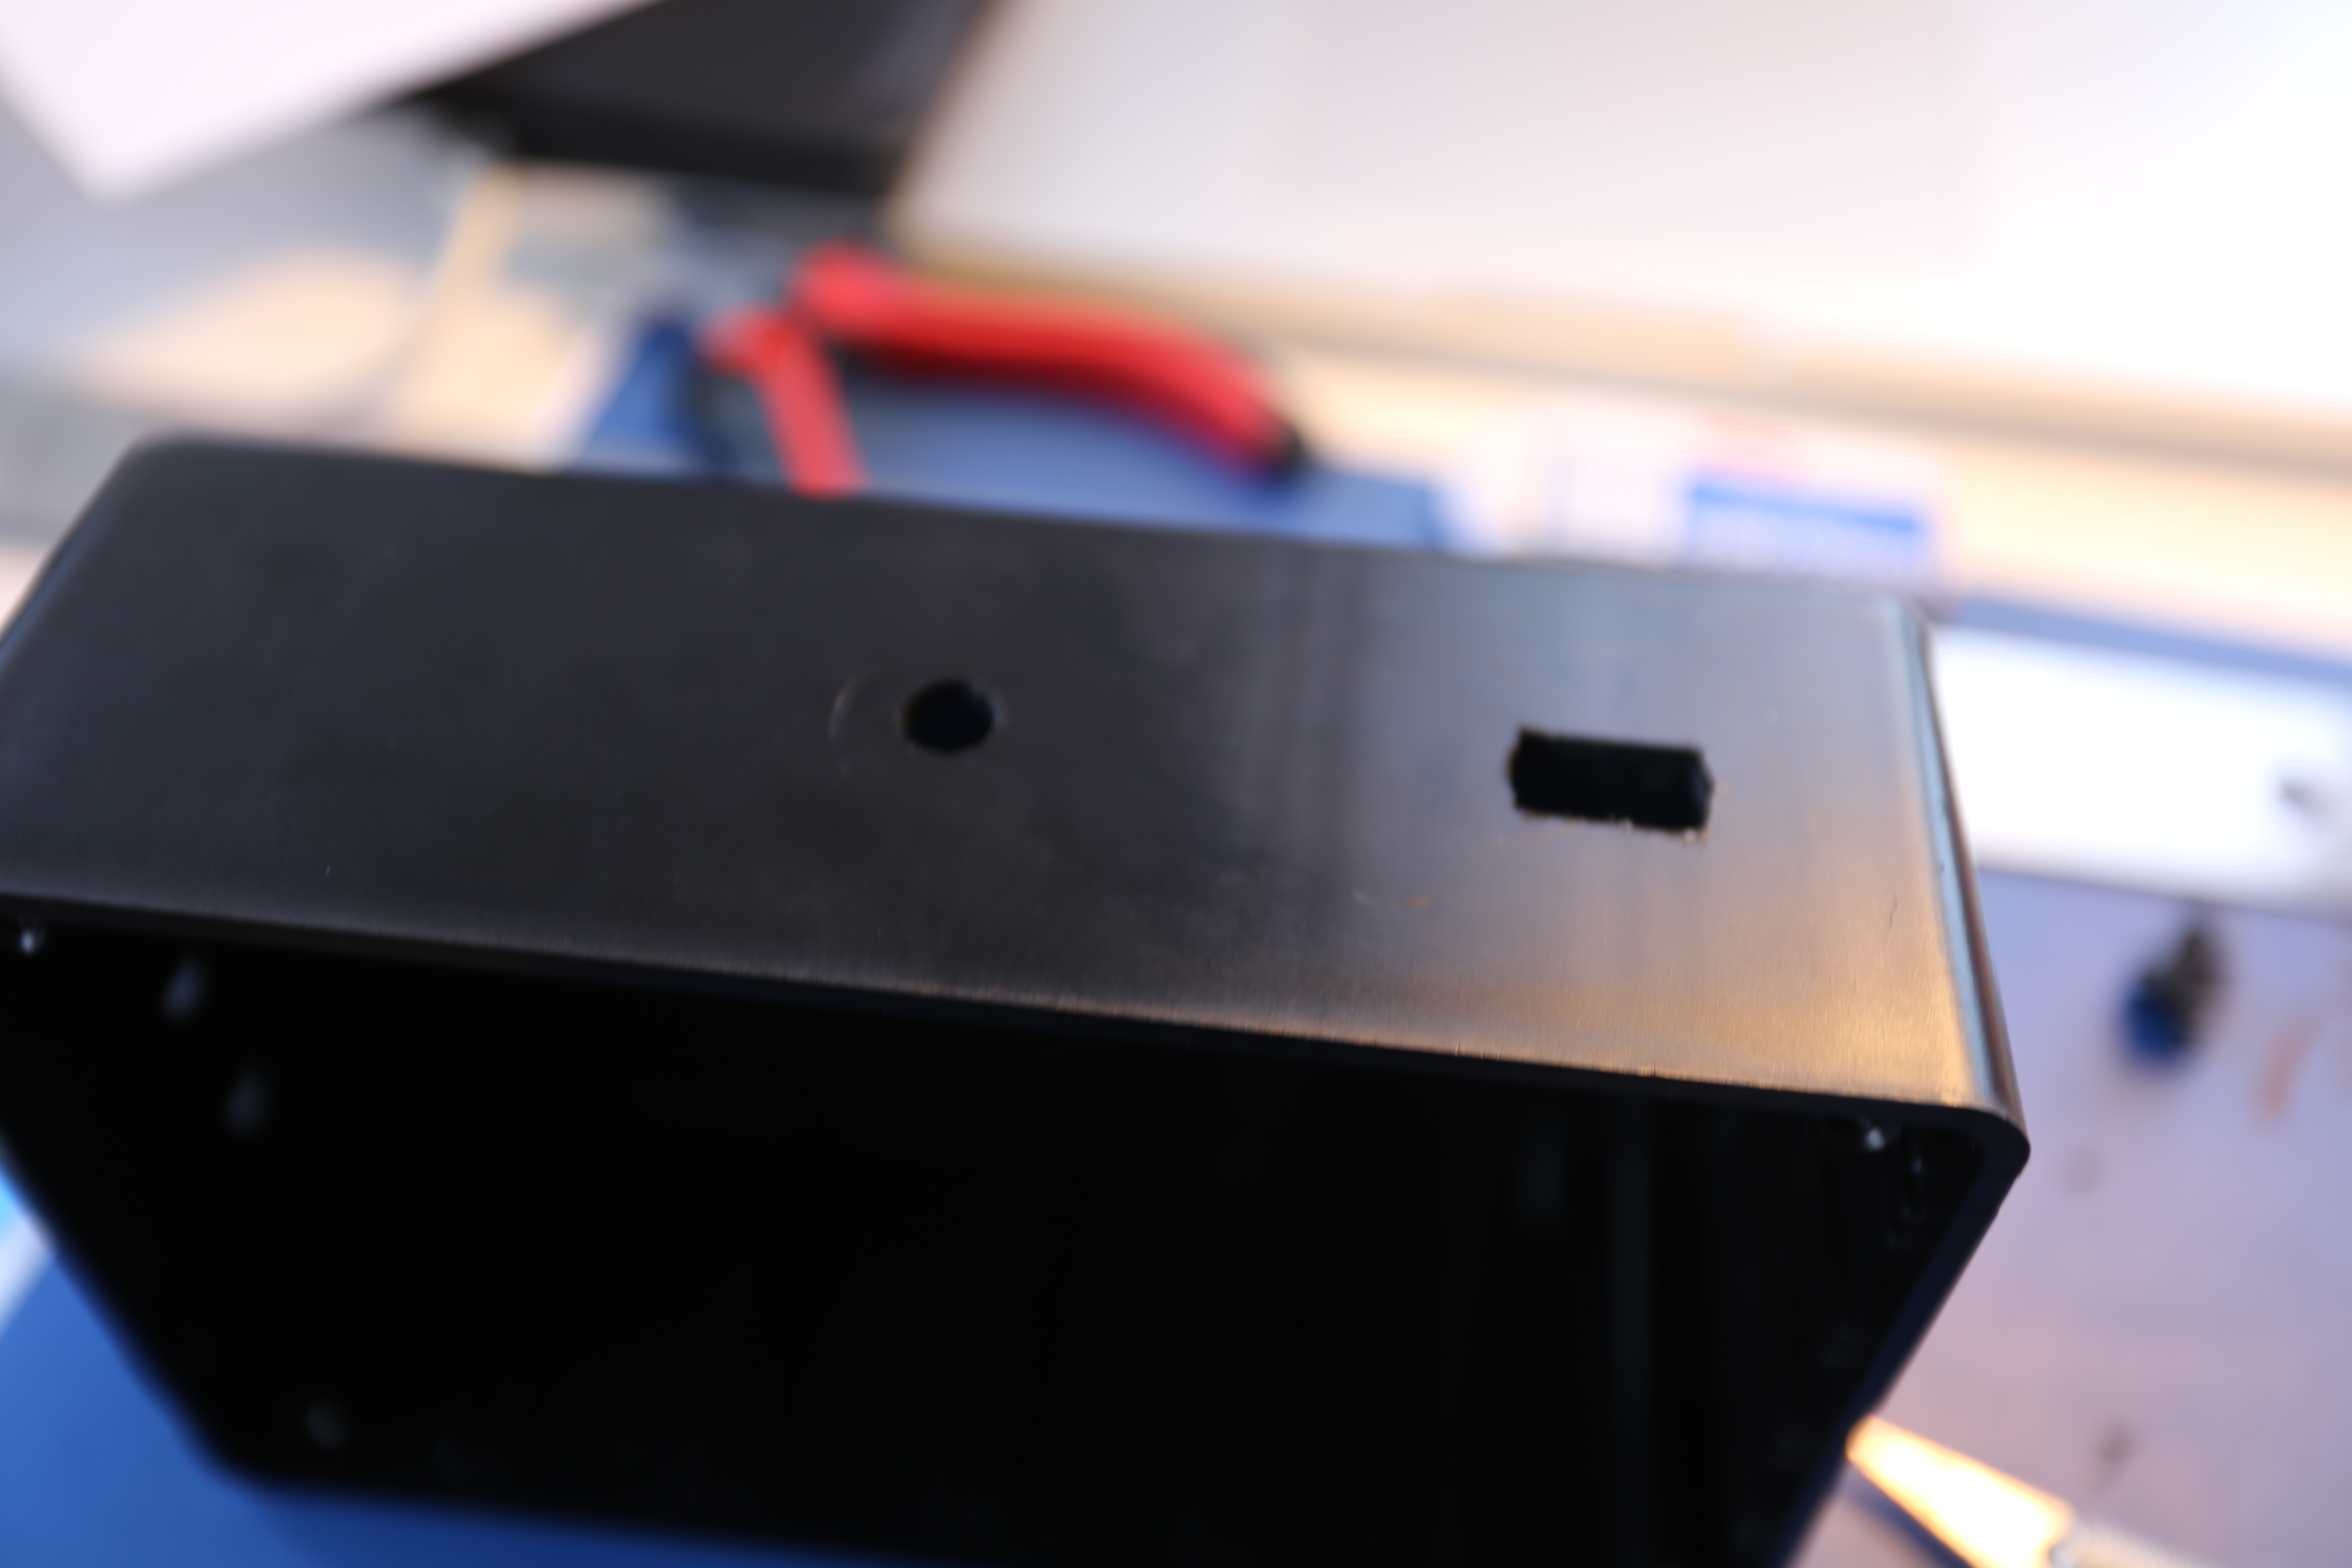 The square form factor of the switch made it slightly harder to create the necessary hole. The largest bit I had was the quarter inch and the switch was around .325 and also has rounded ends (which is why the square hole isn’t perfectly square). I drilled two holes with the 1/4 and then began hand filing it out. In addition, the buttons I got were also slightly larger than the quarter inch drill bit I had (.265) and thus needed some dremeling. The box also has some ridges on the inside which prevented the button from sitting flush which meant more detailing with the x-acto was needed.
 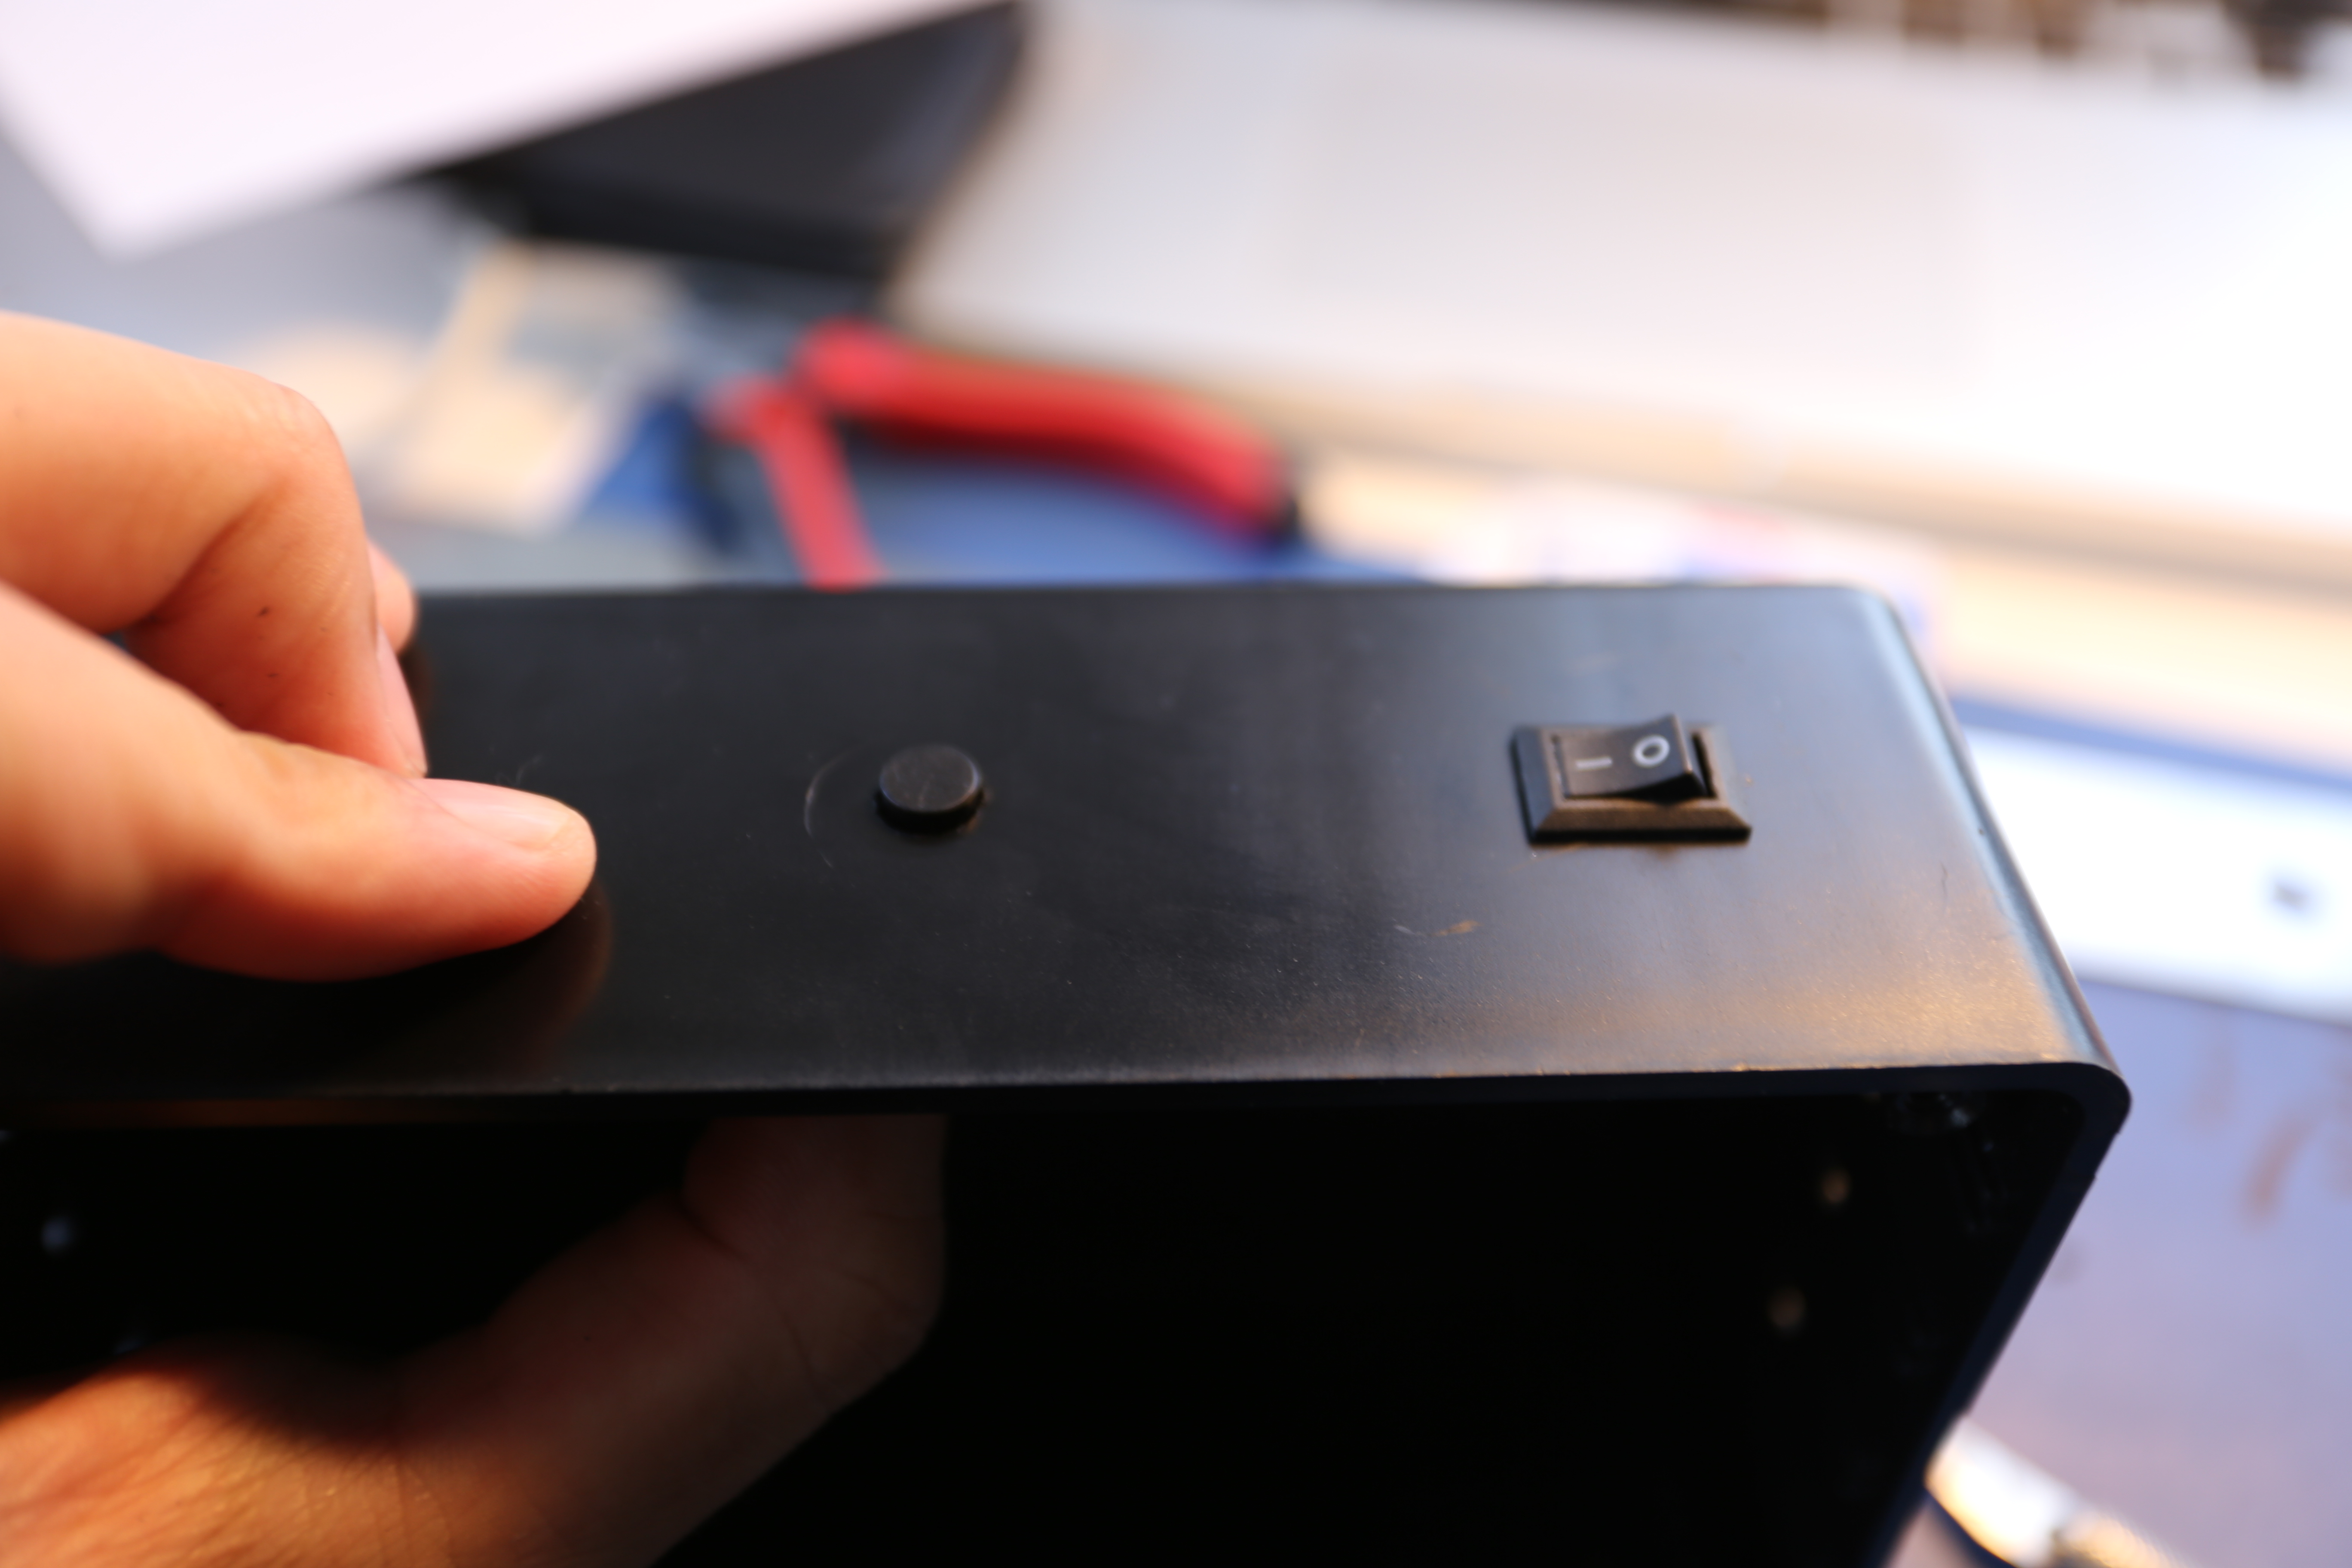 And that was as far as I got yesterday. I ended up running out to grab dollar pizza with blake to talk about our video project, and ended up getting caught in the rain. Today I need to run to Radioshack again to pick up a PC board so I can solder a more permanent circuit. Updates coming soon!